
Sew a Fabric Heart Shape: Make a Pillow or Coaster
This tutorial will show you how to cut out, trim and Sew a Fabric Heart Shape and turn it into a pillow or coaster. Have any fabric scraps? This is a great project for using up leftover fabric pieces. Choose your fabric pieces and keep reading…
Supplies Needed
- Basic Sewing Tools
- Fabric Pieces- My pieces are approx. 8″ X 8″ before cutting out heart shape
- Cotton Batting FOR a coaster OR
- Stuffing FOR a pillow
Make a Heart Shape Pattern
You can draw your own heart shape like in the photo below, or maybe you have a heart shaped template like a cookie cutter, or something similar to trace the shape on a piece of paper.
If you choose to draw your own heart shape, just draw HALF of a heart, as shown in the photo above. This will ensure that both sides of the heart are the same shape/size. You can then use the paper as your pattern. Make sure you add a seam allowance to your pattern before cutting out the pattern.
Cut out Heart Shapes on Fabric

Place your pattern on your fabric pieces and cut out your heart. You can cut out one heart at a time or place the two fabric pieces together and place pattern on top of the fabric and cut out your shape.
Cut out Batting for the Coaster

Place your fabric piece on the batting, pin, and cut out ONE heart-shape piece of batting. (This step is for coaster only)
Stitching the Heart Shape

Check out this other ‘sew a pillow’ post if you are making a heart-shape pillow.
Time to stitch together fabric to create your heart shaped pillow or coaster. You will want to leave an opening where there is NO stitching. This is where you will turn your shape right side out. The best and easiest place for this opening is the slanted side of the heart between the bottom V-Shape and before the top curved edge. (SEE the photo above)
Be sure to back stitch at beginning and ending of your stitching. Keep reading, a few more steps before turning your shape right side out…
Trim the batting on the Coaster
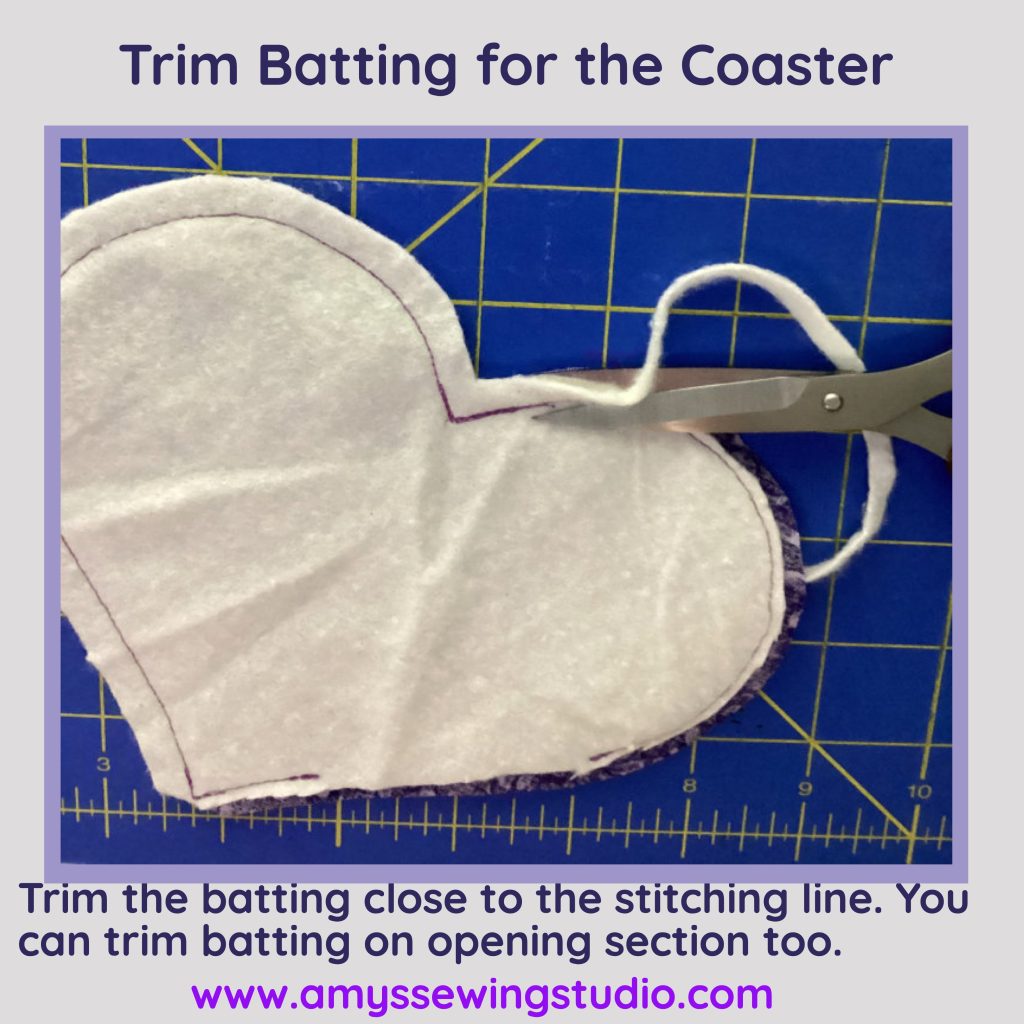
Use the photo above for reference and trim the batting close to the stitching. Trim the batting across the open space too, this will make the preparation for stitching the opening closed much easier.
From this point forward, if you are choosing to make the pillow, you’ll follow the same steps except you won’t have the layer of batting.
Clipping Heart Shape Seams

When clipping the seams, there are three places to clip.
- Clip top of center heart down to the stitching line.
- Cut horizontally across the bottom tip of the heart.
- Clip curved seam allowance edges.
Trim the Fabric Seams
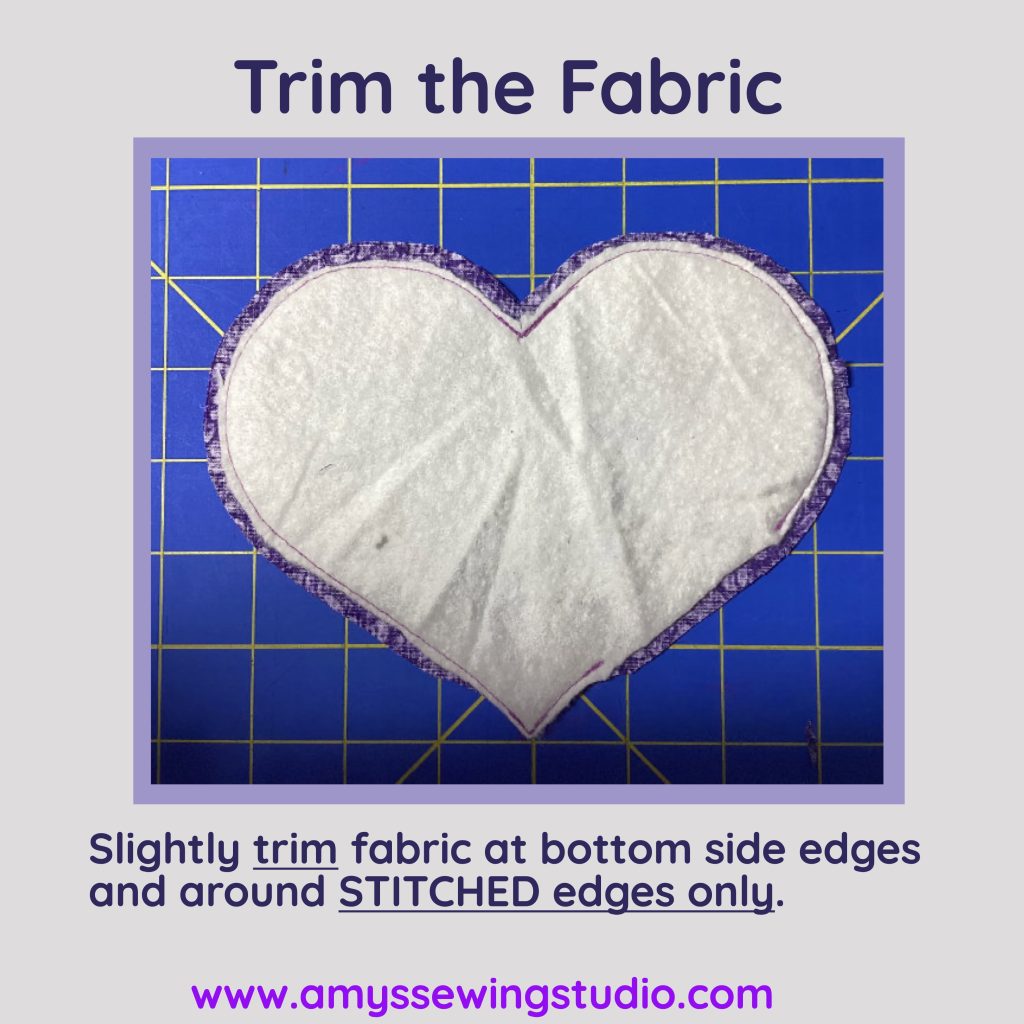
- From the point of the heart- carefully trim the fabric on each side of the point up about 1 1/2″. (Trim the seam allowances to 1/8″ to 1/4″) Do NOT to trim the UN-stitched seam allowance.
- Clip curved seams of the heart shape, spacing the clips about 1/4″ around the curved edges. Spacing of clipping can vary depending on the size of heart shape you made; if you made a larger heart your spacing can be a bit further apart.
You can clip curved edges BEFORE you trim the seams or trim and then clip- whatever is easier for you. I find it easier to clip first.
After you have clipped and trimmed the seam allowances, it is time to turn your heart-shape right side out.
Turn Heart-Shape Right Side Out
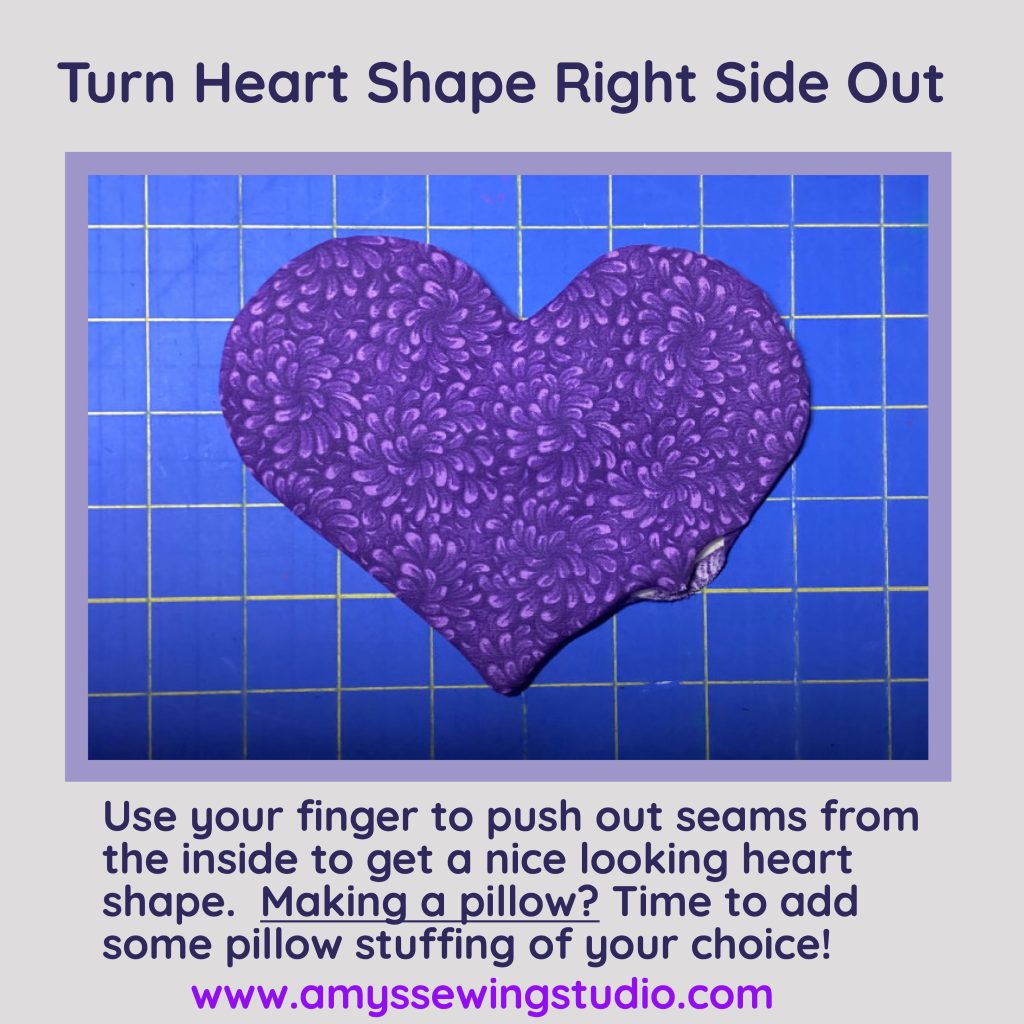
After you have turned your shape right side out, you will need to use your fingers to press out the seams to make a nice heart shape.
Check out the video below to see how I use the ‘finger-press’ method.
Time to Close & Stitch Seam Opening.
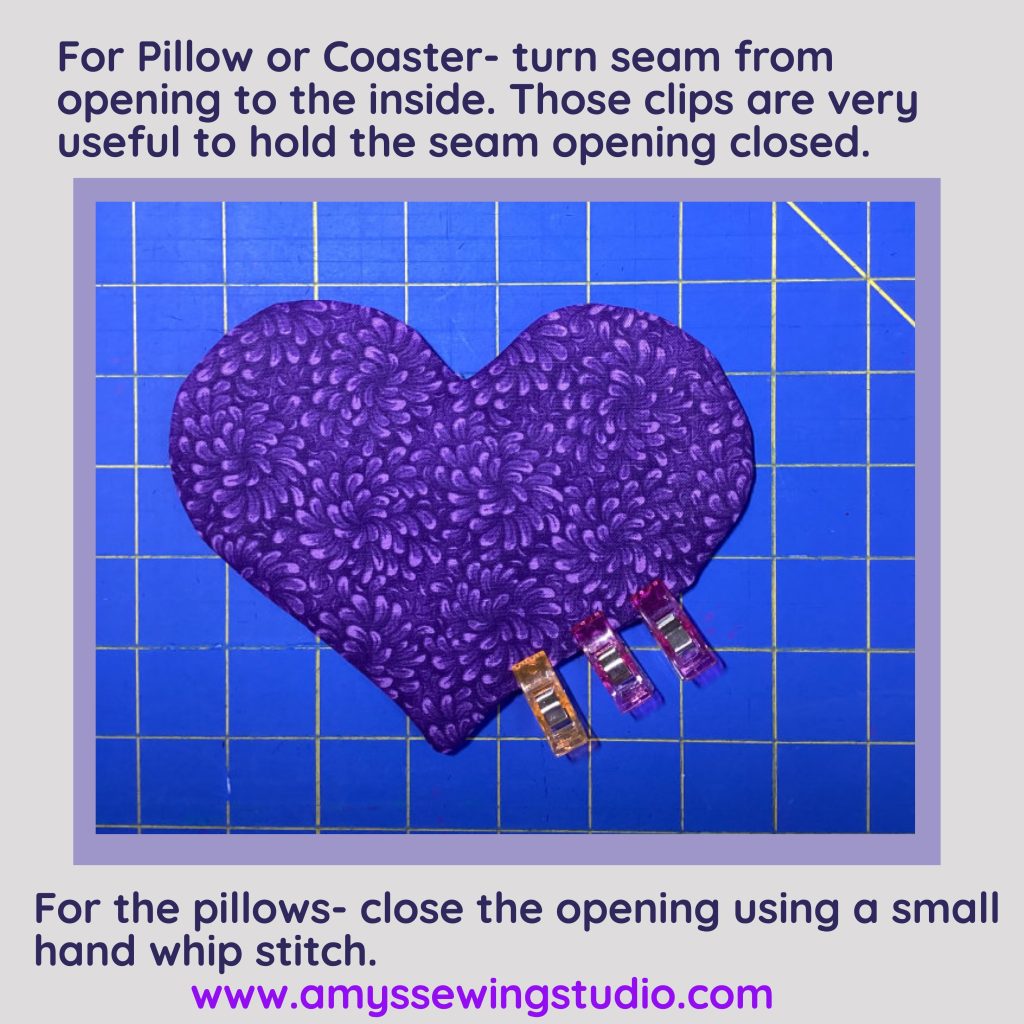
Fold and press the seam allowance edges towards the interior of the Pillow/coaster and pin or clip to hold fabric edges together.
If you are making a pillow: I’d suggest sewing the opening closed with a WhipStitch.
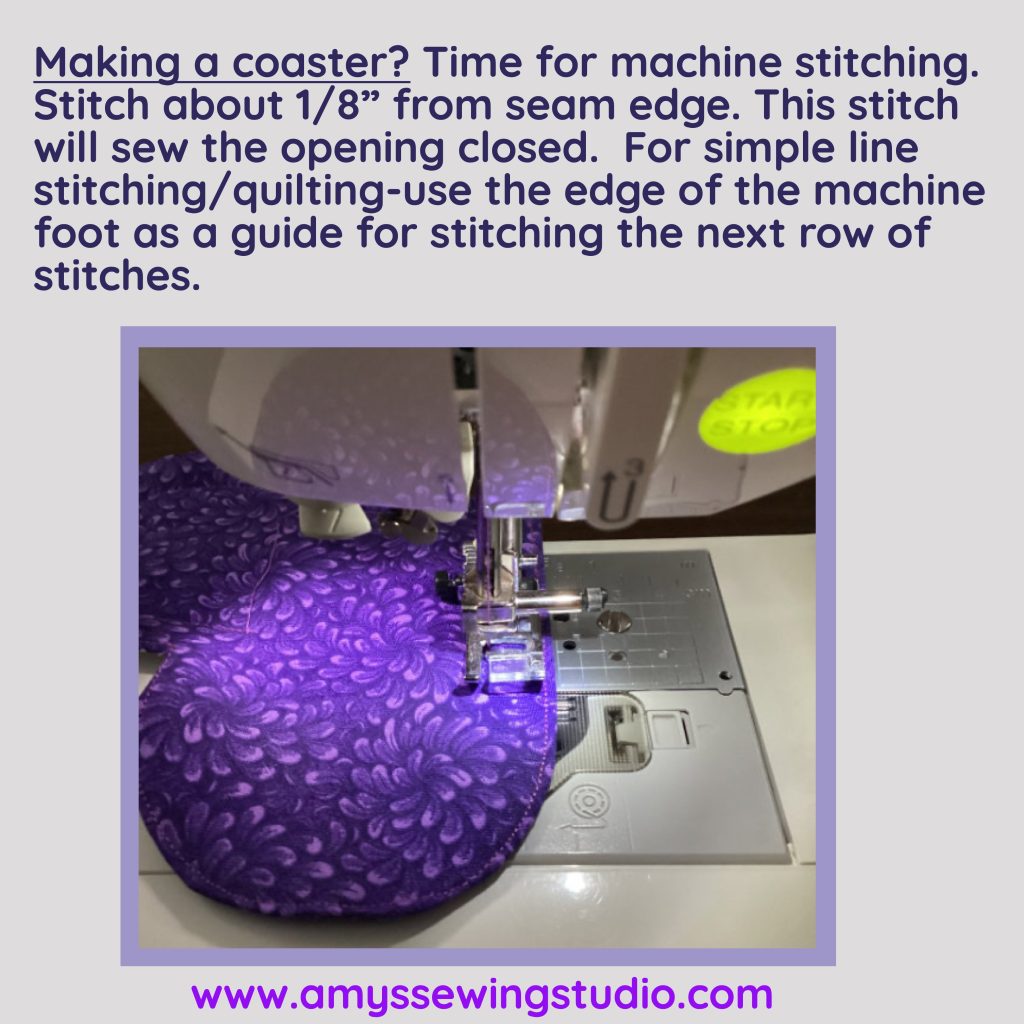
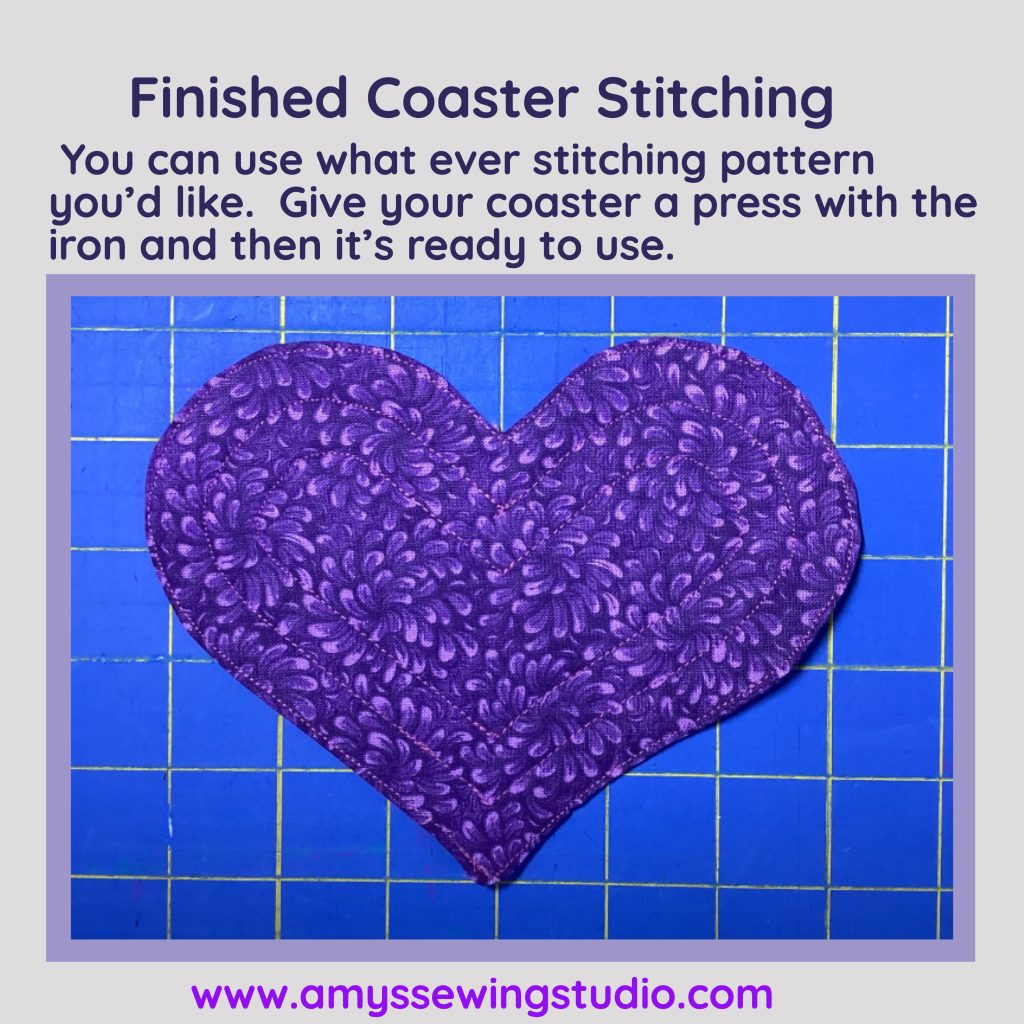
If you are making a coaster: Keep reading to finish this project. You can also check out this other post called Fabric Drink Coasters
Congratulations! You’ve just completed another FUN sewing tutorial for Beginners!
Thanks for visiting Amy’s Sewing Studio!